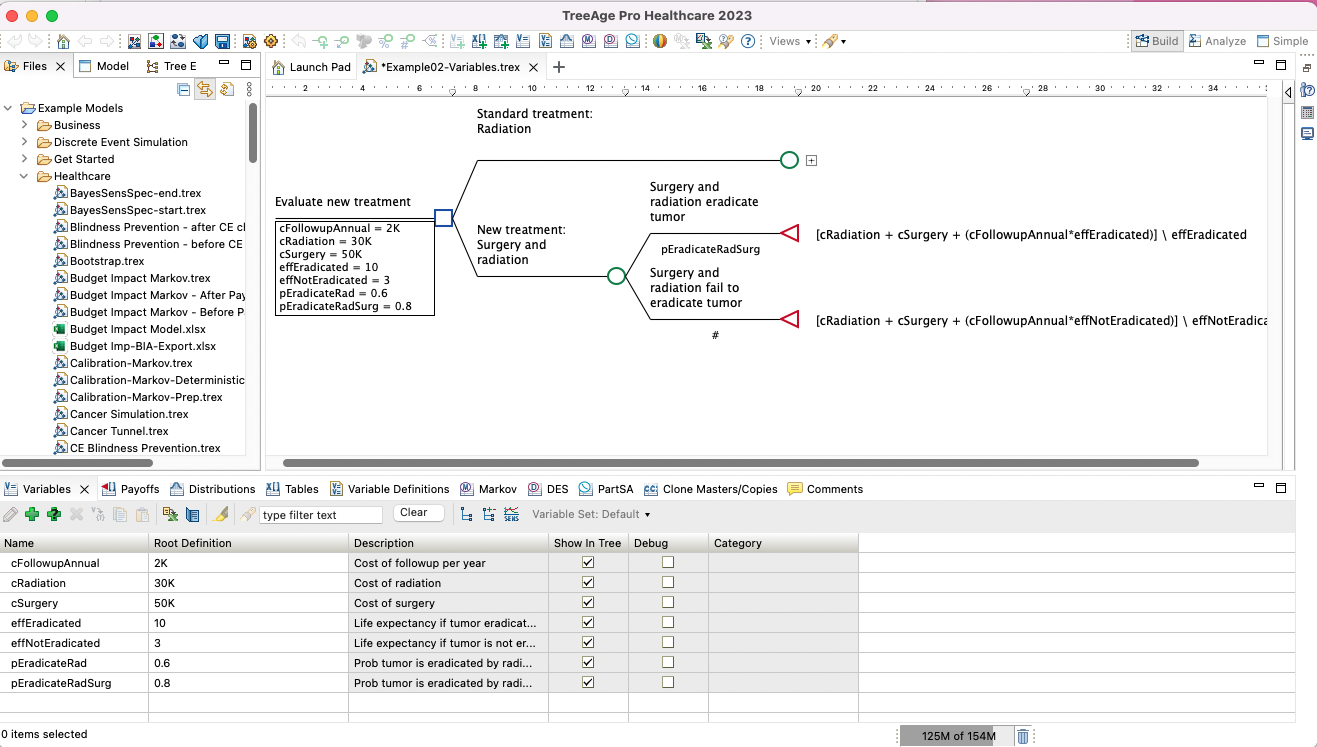
20.1 TreeAge Pro Workspace, Tree Explorer and Model Overview
The TreeAge Pro Workspace is highly customizable, allowing you to move, resize, hide and maximize views and editors based on the task at hand. If you have a very large model, you might consider customizing the workspace in different ways. To rearrange your workspace for greater efficiency when working in complex models, you might try reducing your layout so you maximise the Tree Editor and only have the model inputs (variables and other) open.
You can save these customized workspace layouts in Perspectives. Existing perspectives are shown at the top right corner of the workspace.
Within the workspace, two views in particular, the Tree Explorer and Model Overview, can be especially helpful when working with large trees.
The Tree Explorer View
The Tree Explorer shows a collapsible text view of the model.
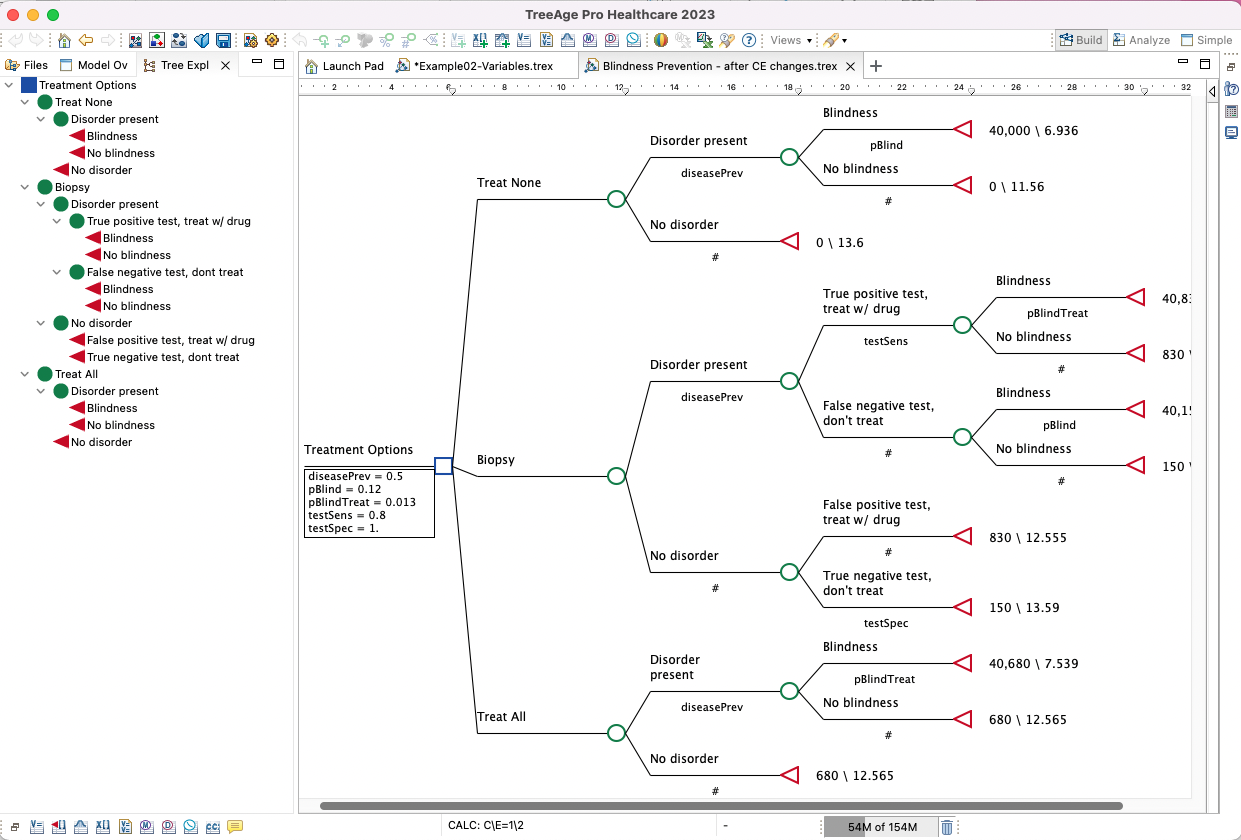
You can use the Tree Explorer to navigate to specific nodes. When you select a node in the Tree Explorer, focus is set on the same node in the Tree Diagram Editor. You can also open the node-specific context menu by right-clicking on a node in the Tree Explorer.
The Model Overview View
The Model Overview presents a high-level view of the overall model, highlighting the portion of the model that is currently visible in the Tree Diagram Editor. In the image below, we have made the Tree Editor screen smaller, so you can see that only a small portion of the tree is visible and that relates to the area you can see highlighted in the blue square in the Model Overview.
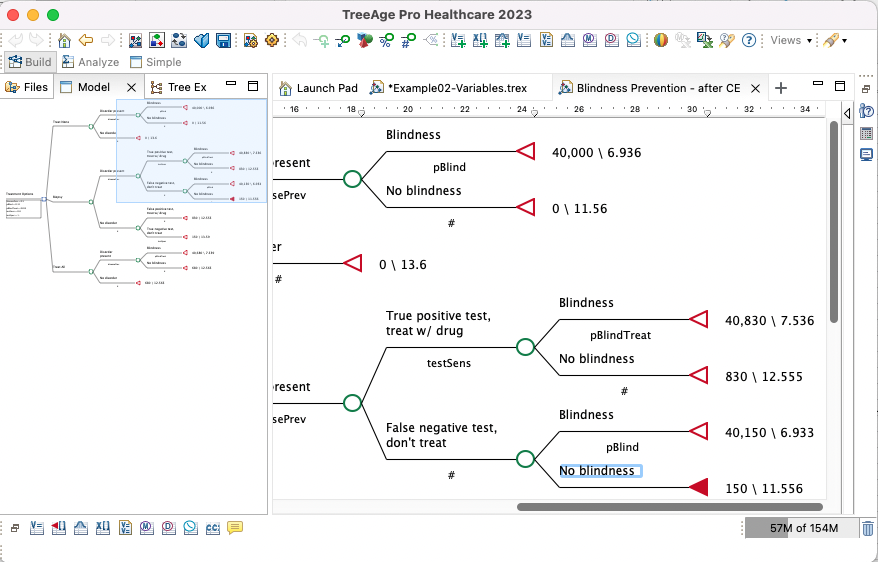
Within the Model Overview, drag the highlighted area (the blue square) to a different area of the model to view a different area of the model in the Tree Diagram Editor.